
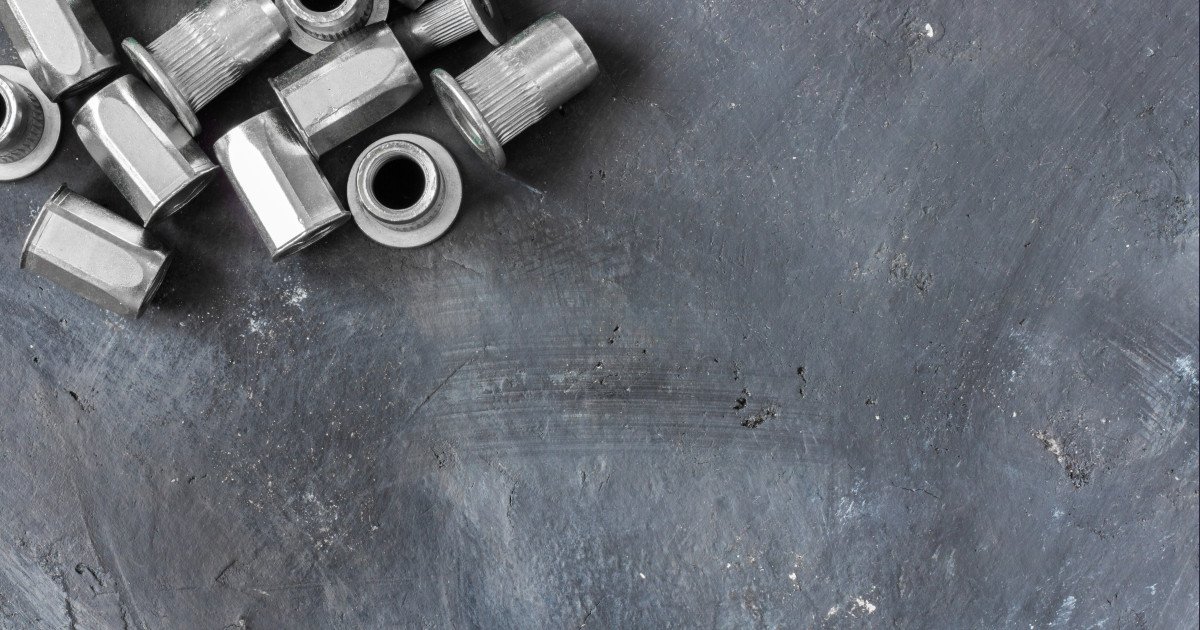
If it happens that you need to fasten something with a screw to a sheet, a tube or a hollow section, you should consider the following:
If the wall of the workpiece is thick enough, you can cut a thread directly into it; if that is not possible, you can weld on a nut — but a more convenient, faster and cleaner solution than either is to use a rivet nut.
There are basically the following problems with welding:
- There are places where welding is technically impossible — e.g. near wood or plastic, or in an explosive atmosphere…
- The heat load changes the structure of the material; the surface treatment burns off; with a stainless workpiece the surface has to be pickled in order to preserve its stainless properties…
- It demands expertise, labour and equipment — it is “a hassle”
- If the back of the workpiece is not accessible, we can only weld onto the outer surface, which brings further problems with it…
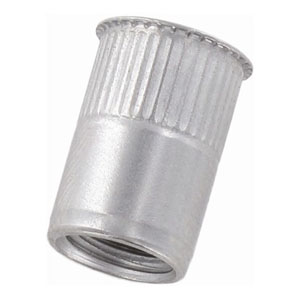
Using a rivet nut is simple…
A rivet nut works like a blind rivet. Its head rests on the rim of the hole, and the mandrel that tears away on a blind rivet is replaced by the threaded mandrel of the setting tool. When setting, the rivet nut has to be screwed onto the setting tool in its open position until it stops, so that the thread of the mandrel protrudes about 1 mm beyond the rivet nut. The rivet nut on the tool is then placed into the prepared hole. As the tool closes, the rivet nut flanges out on the other side of the sheet and is upset into the hole. Once the tool is unscrewed, anything can be fastened with a screw to the thread that remains.
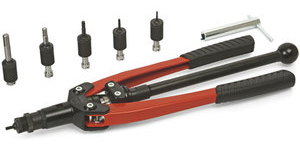
The theory of setting up the setting tool
The rivet nut is set correctly when it is upset evenly into the hole. We can set this up properly by making a few test settings. During testing we adjust the protrusion of the mandrel and its travel. If it travels too far, the thread tears out; if the travel of the mandrel is too short, the rivet nut turns in the hole. To prevent this rotation, spin-resistant rivet nuts with knurled bodies are made. There are calibratable setting tools on which the value that proved good during the trial can be set more easily. After that the work can continue quickly and without faults. For testing we optimally use 1-3 rivet nuts.
Rivet nut sizing
Besides the diameter, the total sheet thickness into which the rivet nut can be set is also specified. Beyond the above, correct pre-drilling is a very important step too, and it determines the success of the operation. The hole size is right when the rivet nut fits into it easily and snugly.
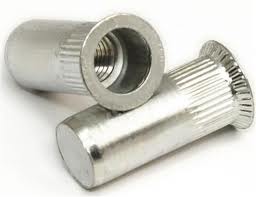
Rivet nut types:
By material there are aluminium, steel, stainless and acid-resistant steel (NONOX) rivet nuts. An aluminium rivet nut is easy to work with, but an aluminium thread can only be loaded to a limited extent. Setting NONOX stainless and acid-resistant rivet nuts, on the other hand, takes serious physical force. By hand they can be used up to M8, at most M10, but if many rivet nuts have to be set, a pneumatic setting tool is recommended.
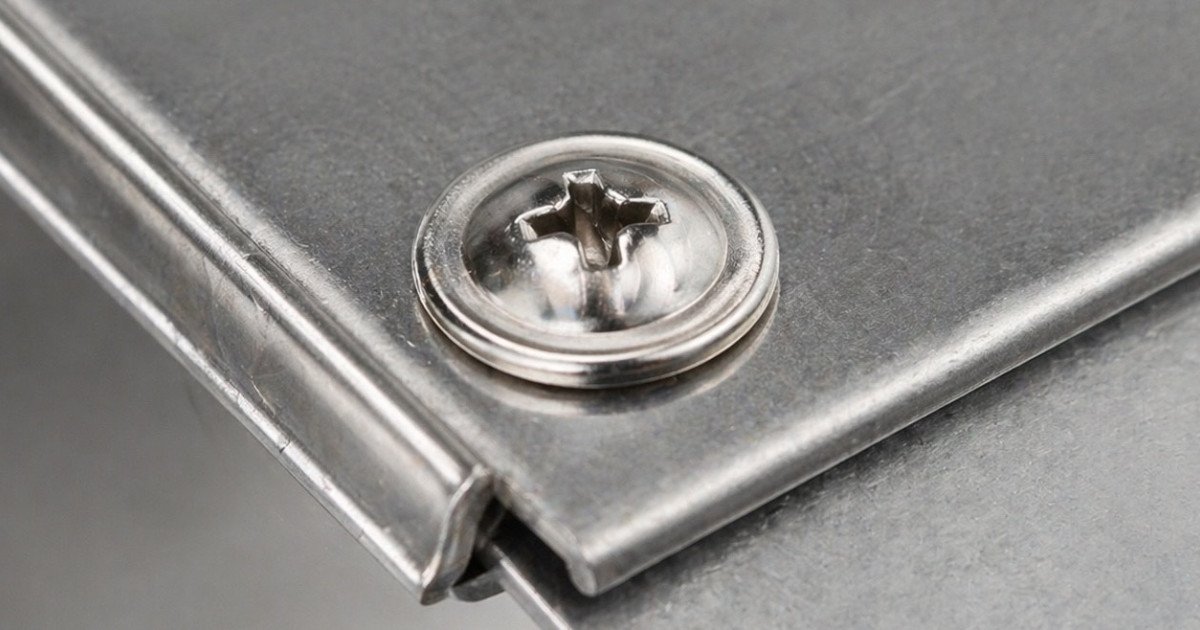
By head design there are standard, countersunk head and micro-flange versions. The countersunk head and the micro-flange serve the purpose of keeping the nut from standing proud of the workpiece.
Open and closed rivet nuts: incredible as it sounds, the end of closed rivet nuts is closed, so we can protect the inside of the workpiece from seeping moisture.
Using the rivet nut:
With the rivet nut wound onto the mandrel of a tool set up as prescribed, insert it into the pre-made hole up to the stop and pull with the tool until the wall of the nut — securely clamping the supporting surface against rotation — flanges out on the sleeve side. After unscrewing the mandrel, the desired object can be fixed using any type of screw of the appropriate size.

Leave a Reply